
Search

Sign In Join Free

1 / 1
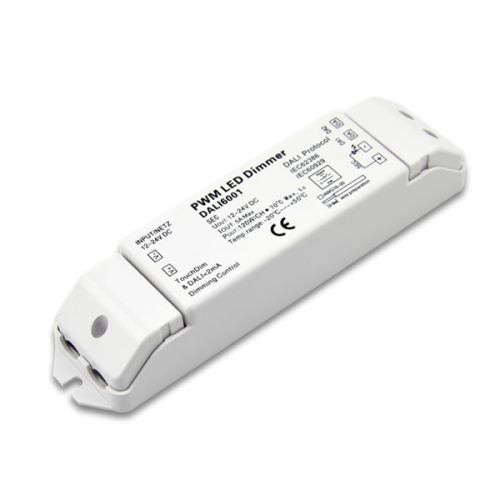
Dali Decoder Constant Voltage (DALI6001)
Get Latest Price
Send Inquiry
| Model No. : | DALI decoder constant voltage (DALI6001) |
|---|
Shanghai Kaaboo Lighting and Electronics Co., Ltd.
You might also like


Product description
Input/output voltage: 12-24VDC, Output: 5A* 1 channel, power: 60-120w, support touch dim function. Weight: 91g.
Features:
PWM output current: MAX 5A/CH
DALI Digital control input, Dimming control LED module
Addressing output channel
Support Touch DIM function, and can be dimmed manually
Dimming range is from 0-100% (LED Will start from 1% )
Used for DC Power supply
Over-temperature protection
Security level: 2
Single channel 12-24VDC constant voltage output
Model DALI6001
Technical parameter:
ParameterMin. *Nom. *Max. Unit
Input voltage range1212-2424Vdc
Touch DIM AC input voltage range5-290VAC
Touch DIM AC input voltage frequency range45-65Hz
12-24 V DC Input current--5A/ ch
Output power0.11 x60-1201 x120W
Output voltage1212-2424Vdc
Output current--5A/ ch
Peak current--6A/ ch
Dimming control DALI definitionIEC62386 IEC60929
Out casing temp--70º C
Surrounding temp-20-50º C
Touch DIM function instructions:
Short press the Touch DIM switch (<0.5s) to control the lamp on or off
Long press the Touch DIM switch (>0.5s) to dim the brightness of light; The dimming direction will change every time after pressing switch
When the light being turned off, long press the Touch DIM switch can turn on the light and adjust it's brightness according to the dimming direction
The brightness adjustment range is 1%-100%, and the light can be turned off through short pressing when do the adjustment with long pressing Touch DIM switch
Power off memory function, the power-down state before will be maintained when power on again
Product installation notes:
1) Remark: DALI and TouchDIM functions cannot be used simultaneously, which can be controlled respectively by using DALI controllers or the equipments with TouchDIM function
2) Please read the connecting instruction picture before installation
3) Please use the complete set of product according to the provided specification
4) Please firstly pressure the cap end down in wire connecting process, then insert the thread of wire, and lastly check the wire is or not insert firmly
5) In order to avoid the damage of the equipment, please check the connecting method is correct or not before connecting the power
Send your inquiry to this supplier
Send Inquiry
Product Alert
Subscribe to your interested keywords. We will send freely the latest and hottest products to your Inbox. Don't miss any trade information.
Subscribe
Your use of this website constitutes acknowledgement and acceptance of our Terms & Conditions.
Copyright © 2009-2024 Bossgoo Co., Ltd. All rights reserved.
